|
New Brake Discs /
Pads (Painted)
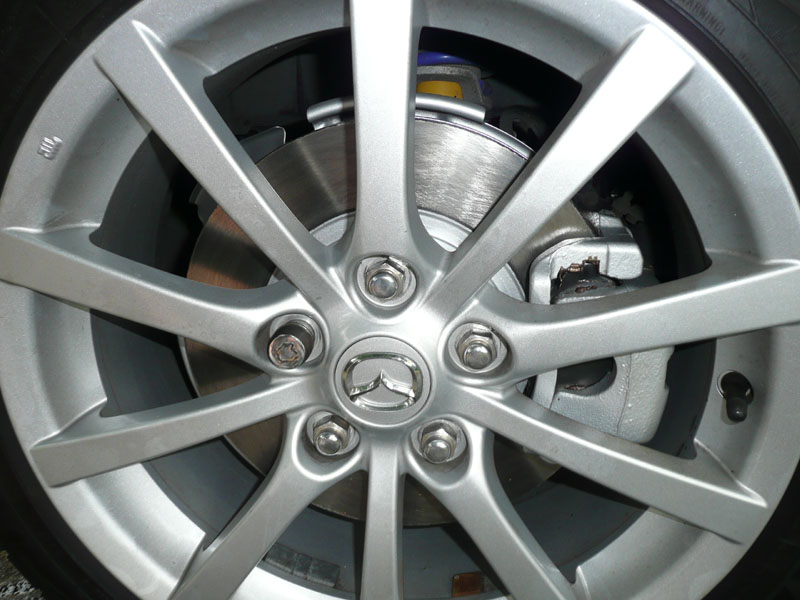
The mk3/NC MX-5's
brake components unfortunately suffer from very unsightly looking surface
rust. This forms on the
wheel hubs (actually part of the brake disc) the
edges of the discs themselves and also on the dust/heat/rain shield that surrounds the outside and back
side of the discs. This is quite noticeable as the
design of the wheels allows a view right through to
the rusty parts lurking inside...
It seems some dealers are willing to fix this upon
complaint by the customer, and others are not. Mine
was not willing - and responded, when I complained,
with; "go look in the car park - they all do
that!". This was not satisfactory so when it came to
replacing the brake discs and pads, I decided to
paint all the parts that were rusting on my car to
tidy up the rusty areas.
Discs
I bought all the parts from my local dealership and
a few weeks before changing the discs/pads I masked
up the brake discs and sprayed them with two coats
of Halfords
silver Caliper paint.
Problems with
removing front discs
The front discs on the mk3 have two retaining
screws that hold the disc in place. It seems these
are installed during manufacture to keep the discs
in place until the wheels are put on (the rears
don't have these two screws). Either way they're a
real pain in the proverbial to remove and cannot be
simply undone with a philips screwdriver - they have
to be done with an impact wrench - not something I
have lying around! For some reason they are torqued
to over 100ft/lbs or something daft so a normal
screwdriver isn't ever going to get them moving! I
had read on miata.net that they can be drilled out
carefully allowing the removal of the disc (but
clearly ruining the screws). I plan to replace these
screws as soon as possible, although I have been
told there's no need to, I'll feel better once
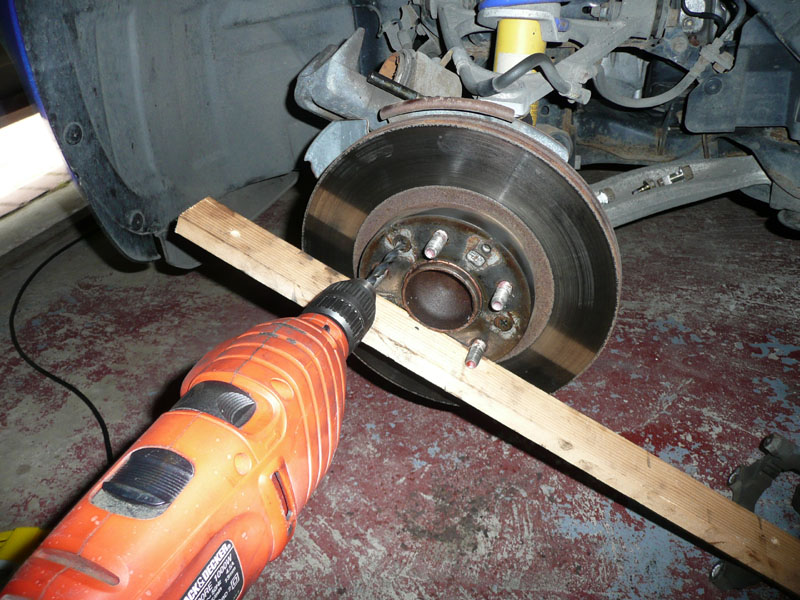
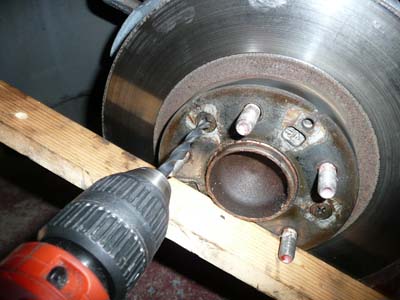
they're back in place. The photos below show drilling out the offending
retaining screws,
masking procedure and then the final product.
Calipers
Once all four disks and pads were removed the calipers
and caliper brakets and the heat/dust/rain shields
were cleaned thoroughly with brake cleaner and then
sanded repeatedly with three grades of emery
cloths before a final rinse off with brake
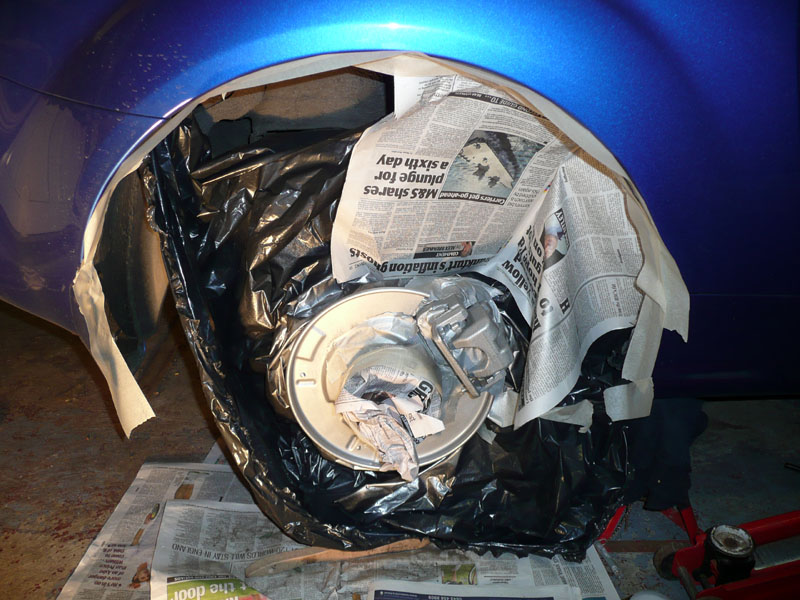
cleaner again. With each corner ready they were then
masked up with masking tape, black bin liners and
newspaper to minimise overspray going anywhere it
shouldn't. Each corner was then given a single
application of paint. This first coat was allowed to
dry for an hour before a second coat was applied.
(Prior to this the whole car was put on jack stands
and wheels removed).
Notice how rusty and untidy the
discs/shields are in this first shot, then compare
it to the finished article.
I will get some better photos when it stops
thundering and raining : (

Drilling out
the head of one of the two front disc
retaining screws.
|
Drilling out
the head of one of the two front disc
retaining screws.
|
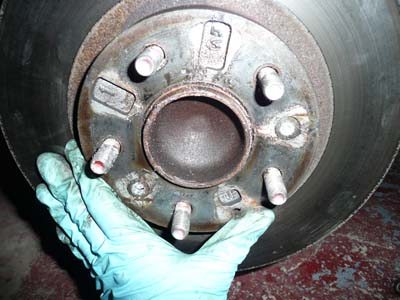
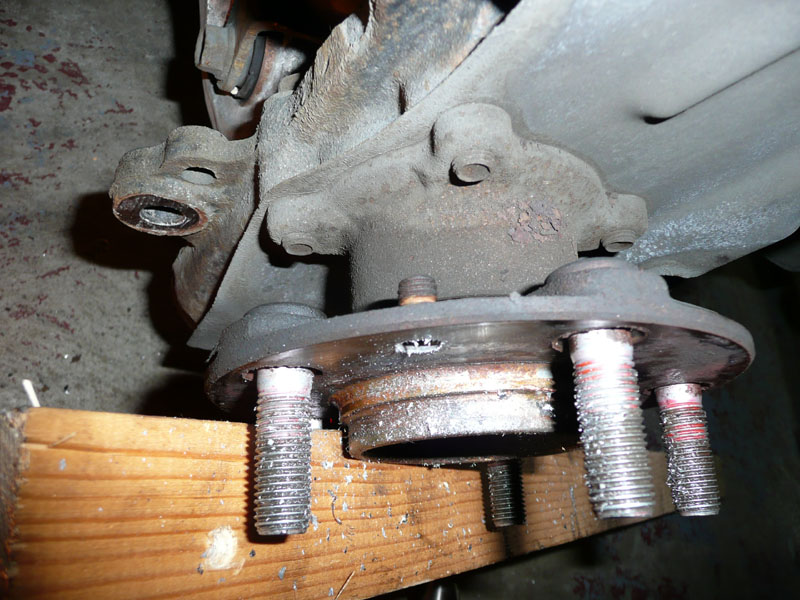
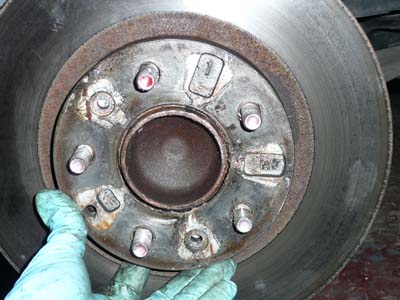
Two front
disc retaining screw heads drilled out -
disc coming off.
|
Two front
disc retaining screw heads drilled out -
disc coming off.
|

Back of disc
retaining screw - being twisted out
clockwise.
|
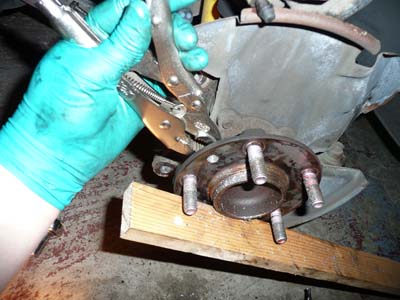
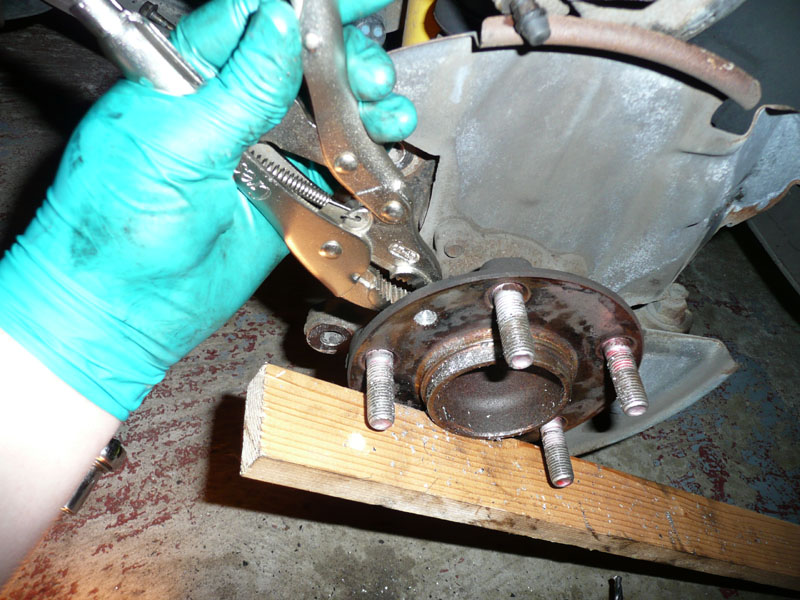
Twisting out retaining screw with grips.
|
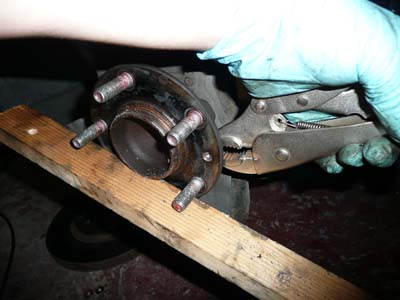
Twisting out retaining screw with grips.
|
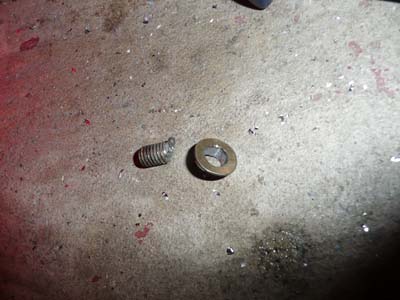
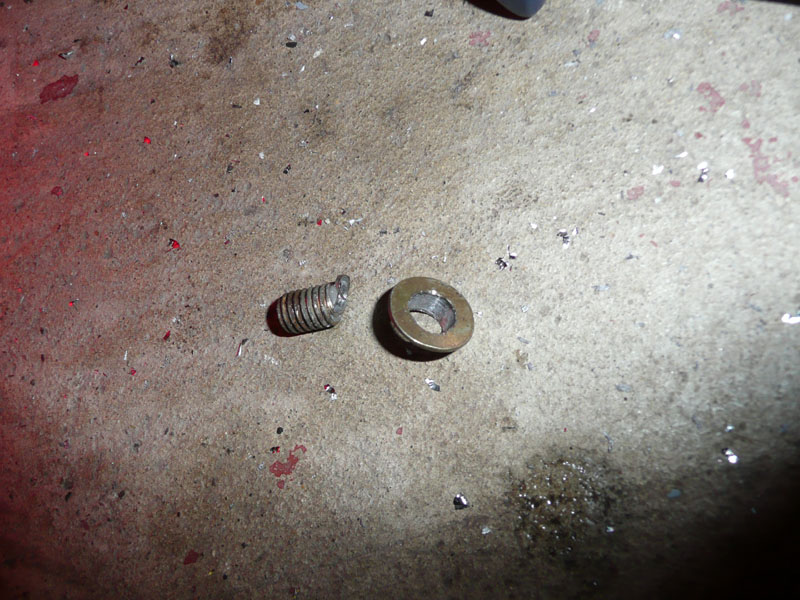
Remains of one of the two retaining
screws
|
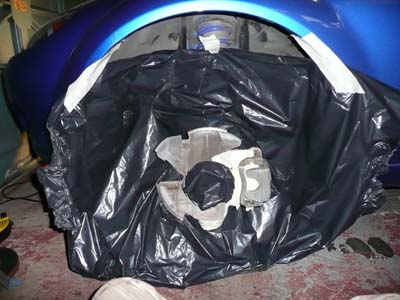
Front wheel
hub/caliper masked up reading for painting.
|
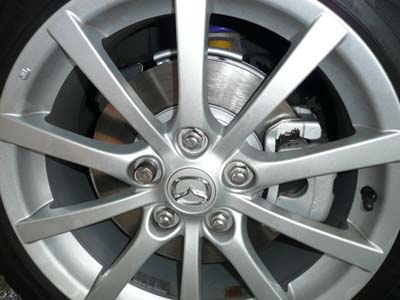
All done, painted hubs on discs, disc
edges, dust/rain/heat shield and calipers
|

Rear wheel hub/caliper masked up
(already painted, didn't take a before
shot).
|
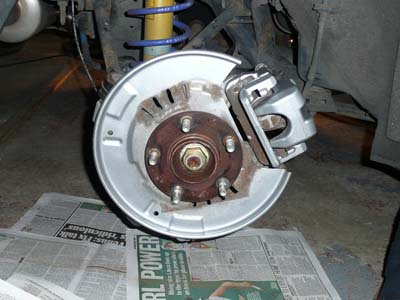
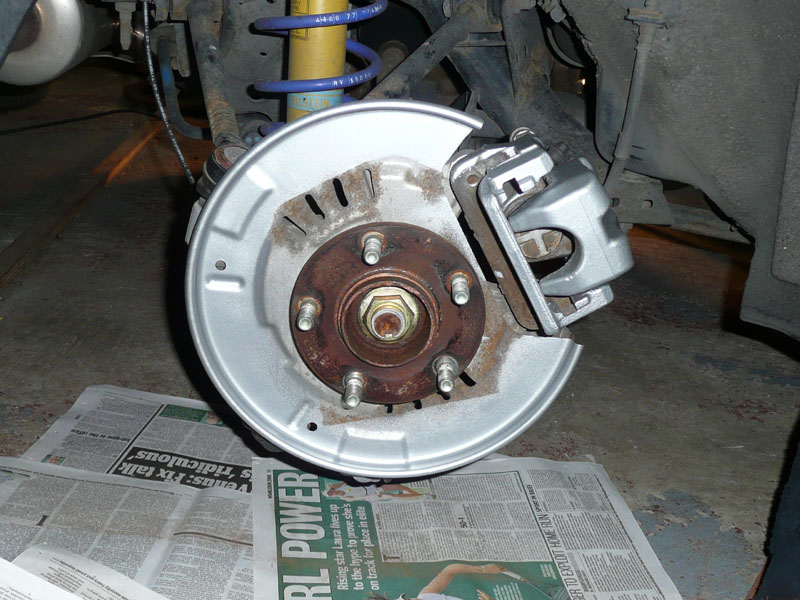
Rear wheel hub/caliper and
dust/rain/heat shield painted.
|
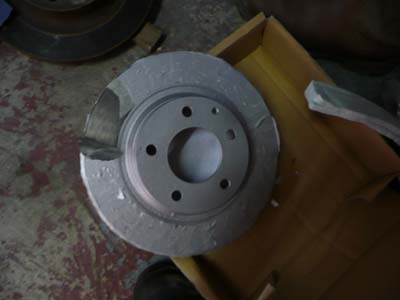
New disc - masking part removed
following painting.
|
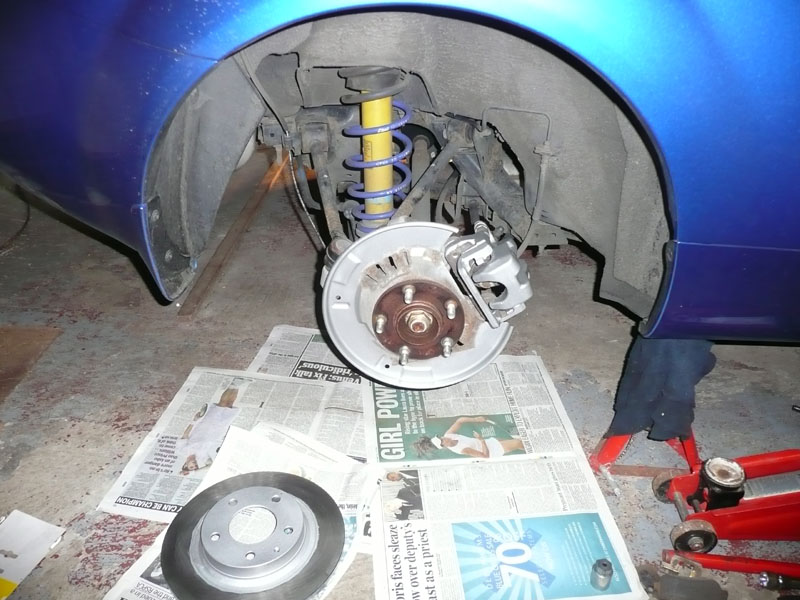
Heat/dust/rain
shield and caliper painted, new disc waiting
to go on.
|
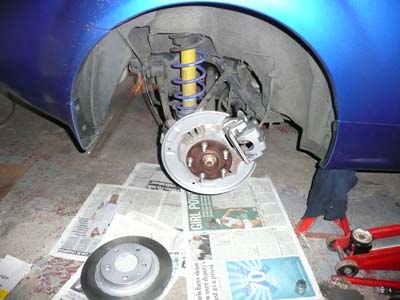
Rear wheel all done, painted hubs on
discs, disc edges, dust/rain/heat shield and
calipers |
|